Indoor BIAB

Homebrew Talk - Beer, Wine, Mead, & Cider Brewing Discussion Forum

Help Support Homebrew Talk - Beer, Wine, Mead, & Cider Brewing Discussion Forum:

This site may earn a commission from merchant affiliate links, including eBay, Amazon, and others.

Gavin C

Supporting Member
HBT Supporter
Joined
Jul 21, 2014
Messages
7,036
Reaction score
3,486
Location
Dallas
I began my home-brewing career this year and have to admit; am completely hooked on the art and science of the craft. I am fortunate in that an ex-roommate of mine some years back, was a keen brewer allowing me to assist and enjoy the fruits of his labors. This provided me with some insight into the process prior to embarking on my own journey of discovery. Luckily, it was relatively early in the learning process that I discovered HBT. To say this forum is invaluable as a resource is to utilize hyperbole in the extreme.

The purpose of this post is merely to outline my methods and system that I have tweaked over the last year, in the hope it will assist others. I have endeavored to stick to proven methods rather than the, “it works for me so it must be OK”, approach. I’m a stickler for details so accurate measurements, calibrated instruments and a neat and tidy work area are front and center in my approach to home-brewing.

I brew entirely indoors, in my kitchen which, once I’m finished, needs to look cleaner than it did before I started. I utilize brew in a bag (BIAB) method which most readers will be familiar with. That last statement is a touch optimistic I fear, in that this post contains no innovative approaches, no new information, nor much in the way of wit. My readership is thus; likely negligible in magnitude. Nevertheless here it is.
 
The planning has evolved from the simplicity of buying kit recipes to more recently utilizing the HBT recipe database, buying ingredients and tweaking things slightly to account for my own system’s parameters, which I am getting dialed in with ever greater accuracy.

I gravitated to all-grain brewing after two partial-mash extract-brews and recently started using Beersmith. I am only sorry I did not purchase the software sooner.

Beersmith Untitled.png

Accurate measures of grain weights, water volumes, temperatures, and appropriately calibrated instruments are essential in determining efficiencies and the dialing-in of one’s equipment for future brews.
 
Last edited:
I double mill my grain at a conventional gap setting using my “Cereal Killer” grain mill. Other than that, no adjustments are made to a conventional, all-grain preparation.

Temperature of milled grainGrain 1.jpg

Double Crush
Grain 2.jpg
 
Water volume and strike temperature can be calculated based on one’s system parameters, utilizing any online calculator. Beersmith is what I now use but have had accuracy with others too.

I treat my tap-water to remove chlorine and choramine using a carbon filter and 1/3 of a Campden tablet respectively. Water reports obtained from my local water authority allow appropriate adjustments to be made. Currently this means the addition of ½ tsp of calcium chloride. Mash pH is buffered with “pH 5.2”. I have no idea as to the efficacy of this product, but the use of a buffering agent is, at least in theory, of some use.Incorrect, please disregard

(Edit: I no longer use pH 5.2 on foot of some minimal homework. Read AJDelange's posts on the product)

Water Adjuncts1 Water Adjuncts.jpg

I have a dedicated drinking water hose with which I fill my brew pot from my kitchen faucet. No heavy lifting is needed.

Dedicated Drinking-water Hose
Drinking Water hose.jpg

Edit: Now using Bru'n water for my calculations pertaining to water adjustments and a pH meter to facilitate mash pH adjustment

pH meterDSC02421.jpg
 
Last edited:
A 10 gallon “Megapot” with holes already drilled for a thermometer and valve eliminates any boil-over concerns, and allows a full volume mash. To better facilitate volume measurements quart markings were etched in the pot as described in this thread. https://www.homebrewtalk.com/f257/how-add-permanent-volume-markings-kettle-illustrated-463099/ .

Volume MarkingsVolume Marks.jpg

No sparging, additional pots or water are needed. I installed both valve and thermometer using Teflon tape on all the threaded fittings and added a 90 degree elbow and the barb that came with the valve setup as a dip tube.

Pick-updip tube 2.jpg

No leaks have been noted following the use of the Teflon tape. All the fittings in my setup are ½ inch stainless steel. The make-shift pick-up tube allows complete drainage of the kettle if desired.

I place a 10” cooling rack at the bottom of the kettle prior to placement of the bag and heating strike water. This prevents damaging the bag during heating and is removed after the mash is complete.

Cooling-rackCooling Rack.jpg

During the mash the bag is secured with a bungee around the pot.
 
There are lots of differing methods for mashing outlined in this forum.

A BIAB mash should be no different in its objective than any other. I am looking for a stable mash temperature for the duration with little or no intervention required.

Dough-in is completed while stirring constantly using a plastic mash paddle. I have found the calculators for strike temperature to be extremely accurate once one inputs the correct grain temperature and mash-tun specifics and have yet to be off by more than 1F.

I have only done 2-step mashes thus far, involving a saccarification rest and mash out. The lid is put on the kettle and an insulating jacket placed resulting in stable mash for 60-90 minutes. Mash temperature is monitored throughout the process.

Once the saccarification rest is complete an iodine test confirms conversion and the temperature is raised to 168-170F. The mash is constantly stirred. For the 8-9 minutes this takes. A 10 minute mash out rest at this temperature is completed and then I lauter.

Doughing InDough In 2.jpg

An iodine test immediately after dough-in showing no conversion6 Iodine no conversion.jpg

The Bag secured to pot at Dough-inSecured Bag.jpg

Insulated Pot during mashEnd of Mash.jpg

Iodine test after Sacc-restIodine Conversion.jpg

Tincture of Iodine
Tincture of Iodine.jpg
 
The bag is freed from the pot and removed. I do not have the facility for a pulley or hoist so allow the bag to drain in a large 16” colander.

I squeeze the bag and target a 7.05 gallon pre-boil volume. The built-in markings on the Megapot are useful here. I just keep squeezing till I get to as close to 7 gallons as I can. Utilizing latex gloves is of benefit during the squeeze; keeping one’s hands clean and providing some minimal protection from the heat.

The wort is thoroughly stirred prior to taking a representative sample. This sample is cooled to the hydrometer's calibration temperature allowing accurate measurement of the pre-boil gravity.

The steps I take result in reasonably good mash efficiencies; in the order of 85-90%. The grain bag is put to one side in a pot to cool prior to being dumped into the flower beds as fertilizer.

Draining EquipmentBag draining Equipment.jpg

Draining the bag over the potLauter and Draining Bag.jpg

Grains Ready for Disposal
Grains ready for disposal.jpg
 
Preboil gravities of my last brew (a nut brown) and Edwort's Haus Ale

Sample at correct temperature for the hydrometer5 hydrometer readings at correct temperature.jpg

Preboil Gravity allows measure of mash efficiency
Preboil SG.jpg
 
The boil proceeds in the same manner as any other brewing method.

My kitchen stove with natural gas can easily maintain a strong rolling boil of 7 gallons facilitating a good hot break.

Natural Gas StoveNatural Gas.jpg

A DIY hop-spider prevents much of the hop matter from entering the kettle, plate-chiller or fermenter.

Hop SpiderHop spider and Boil.jpg

The wort is circulated through the chiller during the last 15 minutes of the boil and during cooling using a stainless steel chugger pump with center inlet.

Plate Chiller and PumpPump and chiller 2.jpg

I am able to position the silicon tubing with two clamps to create a whirlpool in the kettle. This augments the cooling and eliminates the risk of spilling boiling wort as it flows at speed through the tubing.

Tubing and ClampsRecirc Setup.jpg

For much of the year in Texas, the tap water is quite warm. A pre-chiller in an ice bucket negates this problem allowing rapid cooling of the wort to 65F and facilitating a good cold break.

Cooling takes 10-15 minutes. I collect ice from my refrigerator during the week prior to a brew. There is always plenty on hand this way.
 
The cooled wort is pumped into the sanitized fermenter leaving about 0.25 gallon in the kettle with trub.

Sanitized Fermentation VesselSanitized Fermenter.jpg

The carboy is gently swirled and a representative sample is taken for a gravity reading at the hydrometers calibration temperature. This sample is taken from the fermenter prior to oxygenation. The wort is oxygenated using oxygen via a diffusion stone for 1 minute. No additional lifting or shaking of the carboy is required

Oxygenation setupOxygen1.jpg

Hose Clamps secure tubing to wandoxygen2.jpg

Diffusion Stoneoxygen3.jpg

Original gravity of Edwort's Haus AleEdworts Haus Ale OG.JPG
 
Last edited:
If using liquid yeast, either from a fresh smack-pack or from previously harvested slurry I always use an appropriately sized starter. Once again, online calculators are a boon here.

If using dry yeast I always follow the manufacturers’ recommendations for rehydration.

There are many threads in the forum questioning the viability of yeast in a starter. This concern is resolved by checking the gravity of decanted wort from the starter. I routinely crash-cool the starter for 2-3 days and decant the spent wort facilitating gravity measurement.

Decanted Starter3 Starter FG.jpg

Allowing the yeast to come back up to 60-65F is important prior to pitching. This is as simple as taking the yeast out of the cold a few hours prior to pitching.
 
Arguably the most important addition to my setup is my chest freezer with STC 1000 temperature controller.

STC 1000STC 1000.jpg

7.1 Cubic ft. Chest FreezerChest Freezer.jpg

Heat SourceLasko Heater 1.jpgLasko Heater.jpg

This allows me to ferment two 5.5 gallon batches at a time; assuming similar yeast requirements for each, at the optimal temperature for any given yeast and/or recipe requirement.

Crash cooling is also possible.

An immediate an obvious improvement in my beer was the result of this added control. I would encourage anyone with space and means to get a similar setup.
 
I bottled my first batch and that was enough for me. I did not enjoy the hassle.

I built a two tap kegerator and just love it. It is my pride and joy. Guests are always impressed. A kegerator is great for parties and still gives me a sense of satisfaction and pride when I pull a cool beer from it.

I cold crash and use gelatin finings in either primary or the keg. I do not use secondary vessels anymore. The clarity of my beers is in my humble opinion excellent. This clarity can of course be achieved with bottling, without crash-cooling, without finings and with or without a secondary. This is my method, is tried and tested by many before and is how I get the clarity I want.

The importance of getting good hot and cold breaks during boiling and chilling is however, not to be understated in the quest for clear beer.

Converted Danby RefrigeratorDSC01908.jpgDSC01909.jpg

An excellent Youtube video outlining the kegerator build is here
 
Last edited:
This is what it is all about. The destination at the end of the wonderful, chemical, biological, technical and inspirational labor of love that is home-brewing. I am only beginning to scratch the surface of this craft and owe an immense debt of gratitude to all the passionate, knowledgeable, humble and humorous, contributors, on this forum.

Pictured below is one of my more recent brews; Edwort’s Bee Cave Haus Ale. A huge thank you to Edwort for sharing his creations here on HBT. Fantastic!

Edwort's Haus AleEdwort's Haus Ale.jpgEmpty with Lacing.jpg
 
This is a very well done write up of your methods and should be helpful for any aspiring all grain brewer. Thanks for all the pictures too. I like the iodine test for conversion as it proves that you have no starch to cause haze in your beer.

If you feel like experimenting with another batch, try the iodine test during the saccrification rest at 5 minute intervals to see how long the conversion takes. It might surprise you.

I added a refractometer to my arsenal of testing equipment and found it to be quite useful in taking pre-boil samples because I don't have to wait for the sample to cool and it only takes a few drops of wort. I use it again before the wort goes into the fermenter to verify that I have the anticipated OG.

I don't believe you need to do a mash out while doing BIAB since your wort will be brought to a boil shortly after pulling the bag of grains out. You can skip this step if you want without adverse consequences.
 
Very nice writeup, thanks for being thorough.

Only comments I have are mashout isn't really necessary, just pull the bag and proceed, and that you should avoid "5.2 buffer." It really is not effective, and is often detrimental. I'd suggest using bru'n water and getting some proper PH modifying additives.
 
This is a very well done write up of your methods and should be helpful for any aspiring all grain brewer. Thanks for all the pictures too. I like the iodine test for conversion as it proves that you have no starch to cause haze in your beer.

If you feel like experimenting with another batch, try the iodine test during the saccrification rest at 5 minute intervals to see how long the conversion takes. It might surprise you.

I added a refractometer to my arsenal of testing equipment and found it to be quite useful in taking pre-boil samples because I don't have to wait for the sample to cool and it only takes a few drops of wort. I use it again before the wort goes into the fermenter to verify that I have the anticipated OG.

I don't believe you need to do a mash out while doing BIAB since your wort will be brought to a boil shortly after pulling the bag of grains out. You can skip this step if you want without adverse consequences.

I have been reading your posts on shorter mash times with much interest. Intriguing stuff. I need to read up more on the science before I shorten my times although I don't doubt that conversion occurs a lot sooner than 1 hour. It is not critical for my times as I get up early to dough-in and then go back to bed during the mash. Not that napping should be used as a rationale to support a technique.

I completely agree with you on the refractometer. I take readings with both and find them to be identical for wort gravity readings. I have moved back to hydrometer readings for pre-boil, starting gravity and FG to get more data points with which to refine my refractometer's correction factor. Also, for the purposes of this write up, I wanted some representative images.
 
Very nice writeup, thanks for being thorough.

Only comments I have are mashout isn't really necessary, just pull the bag and proceed, and that you should avoid "5.2 buffer." It really is not effective, and is often detrimental. I'd suggest using bru'n water and getting some proper PH modifying additives.

Another vote for ditch the 5.2 buffer. Good write up.

Yes. I have yet to read much to support the use of "pH 5.2". Next batch I'll ditch it and see how my numbers stack up. I will keep the mash-out for that brew. I don't want to change extra variables. My next brew has a similar grain bill to my last so may lend itself to a favorable comparison. (lil Sparky's Nut brown and King Brian's Common room ESB)
 
... this post contains no innovative approaches, no new information, nor much in the way of wit. My readership is thus; likely negligible in magnitude. Nevertheless here it is.

I enjoyed reading through the posts. It's always interesting to see the different methods, methodologies, and problem-solving solutions of homebrewers. In the end there is one thing, and that is a tasty libation. But there are an infinite number of ways and ideas on how to get from grain to glass. Great write up on your process!
 
Great post! Good job on the writing and pictures to illustrate. I'm sure there will be many an aspiring home brewer that will read this thread and benefit from it. I BIAB in the kitchen as well and enjoyed taking a look at your process as compared to mine.

:mug:
 
Great post! Good job on the writing and pictures to illustrate. I'm sure there will be many an aspiring home brewer that will read this thread and benefit from it. I BIAB in the kitchen as well and enjoyed taking a look at your process as compared to mine.

:mug:

Glad you enjoyed it. Hope it may be of use.
 
Excellent thread, Gavin. Like others have said, we all get to the end point in some fashion or another, and hopefully your thread inspires someone to take up BIAB and make their own way!
 
Excellent thread, Gavin. Like others have said, we all get to the end point in some fashion or another, and hopefully your thread inspires someone to take up BIAB and make their own way!

thanks for sharing i too am a "kitchen brewer", nice to see your pictorial.

Thanks for reading.
 
That looks basically exactly how I brew, but your stove is much nicer and cleaner than my wort-scorched POS...
 
Nice write up, nice set up, nice pics. And you're in this for just a year? Hell - I hope that you are a Project Manager :)

I too have heard that 5.2 is questionable as to it's value. I have never heard of it being harmful to a beer.

I am personally a bit of an environmental nazi and the whole throw away oxygen canister gives me the creeps, but that is just my own neurosis. No one should be as neurotic as me. You oxygenate much faster and perhaps more fully than my aquarium bubbler.

WELL DONE !
 
That looks basically exactly how I brew, but your stove is much nicer and cleaner than my wort-scorched POS...

The large pot, the large colander and the clamps for the silicon tubing have completely eliminated any spills or drips. On a previous brew the hose flew out of the pot with the pressure from the wort when I first switched on the pump. This resulted in giving me a scald and creating a mess. Very painful having to do all the extra cleanup with burnt leg and chest.

I keep them away from the kitchen but with two little kids running/crawling around this was a wake up call. No more spilled scalding wort I thought. So far so good.

If you have any suggestions or information garnered from your experiences I would love to know.
 
Nice write up, nice set up, nice pics. And you're in this for just a year? Hell - I hope that you are a Project Manager :)

I too have heard that 5.2 is questionable as to it's value. I have never heard of it being harmful to a beer.

I am personally a bit of an environmental nazi and the whole throw away oxygen canister gives me the creeps, but that is just my own neurosis. No one should be as neurotic as me. You oxygenate much faster and perhaps more fully than my aquarium bubbler.

WELL DONE !

Thanks soccerdad. I haven't used up my first O2 tank yet. I'm thinking my city will accept it for recycling. To be quite honest I hadn't given it a moments consideration till now.
 
...
I am personally a bit of an environmental nazi and the whole throw away oxygen canister gives me the creeps, but that is just my own neurosis. No one should be as neurotic as me. You oxygenate much faster and perhaps more fully than my aquarium bubbler.

I was mostly thinking about the cost of the oxygen when I thought about wort oxygenation. It must be incredibly frustrating to be that neurotic about recycling. The fact that you mention it like this just from seeing one picture of an oxygen tank seems kind of odd. I complain a lot but that just strikes me as, well, neurotic. I may not sound like it, but I'm sympathizing. Oh, brains! :cross:
 
just strikes me as, well, neurotic

don't get me started on why the a-holes that pick up our RC take the plastic bottles and tubs but won't take the caps GRRRRR recycle rage

btw - had not thought of oxygen tanks going with metal RC - I may be able to sleep tonight :)
 
I was mostly thinking about the cost of the oxygen when I thought about wort oxygenation.

The O2 is about $10 for a cylinder at Home Depot. Not sure how many batches it will do. I have done 4 so far with it and it's not empty yet. I have a new one ready to go.
 
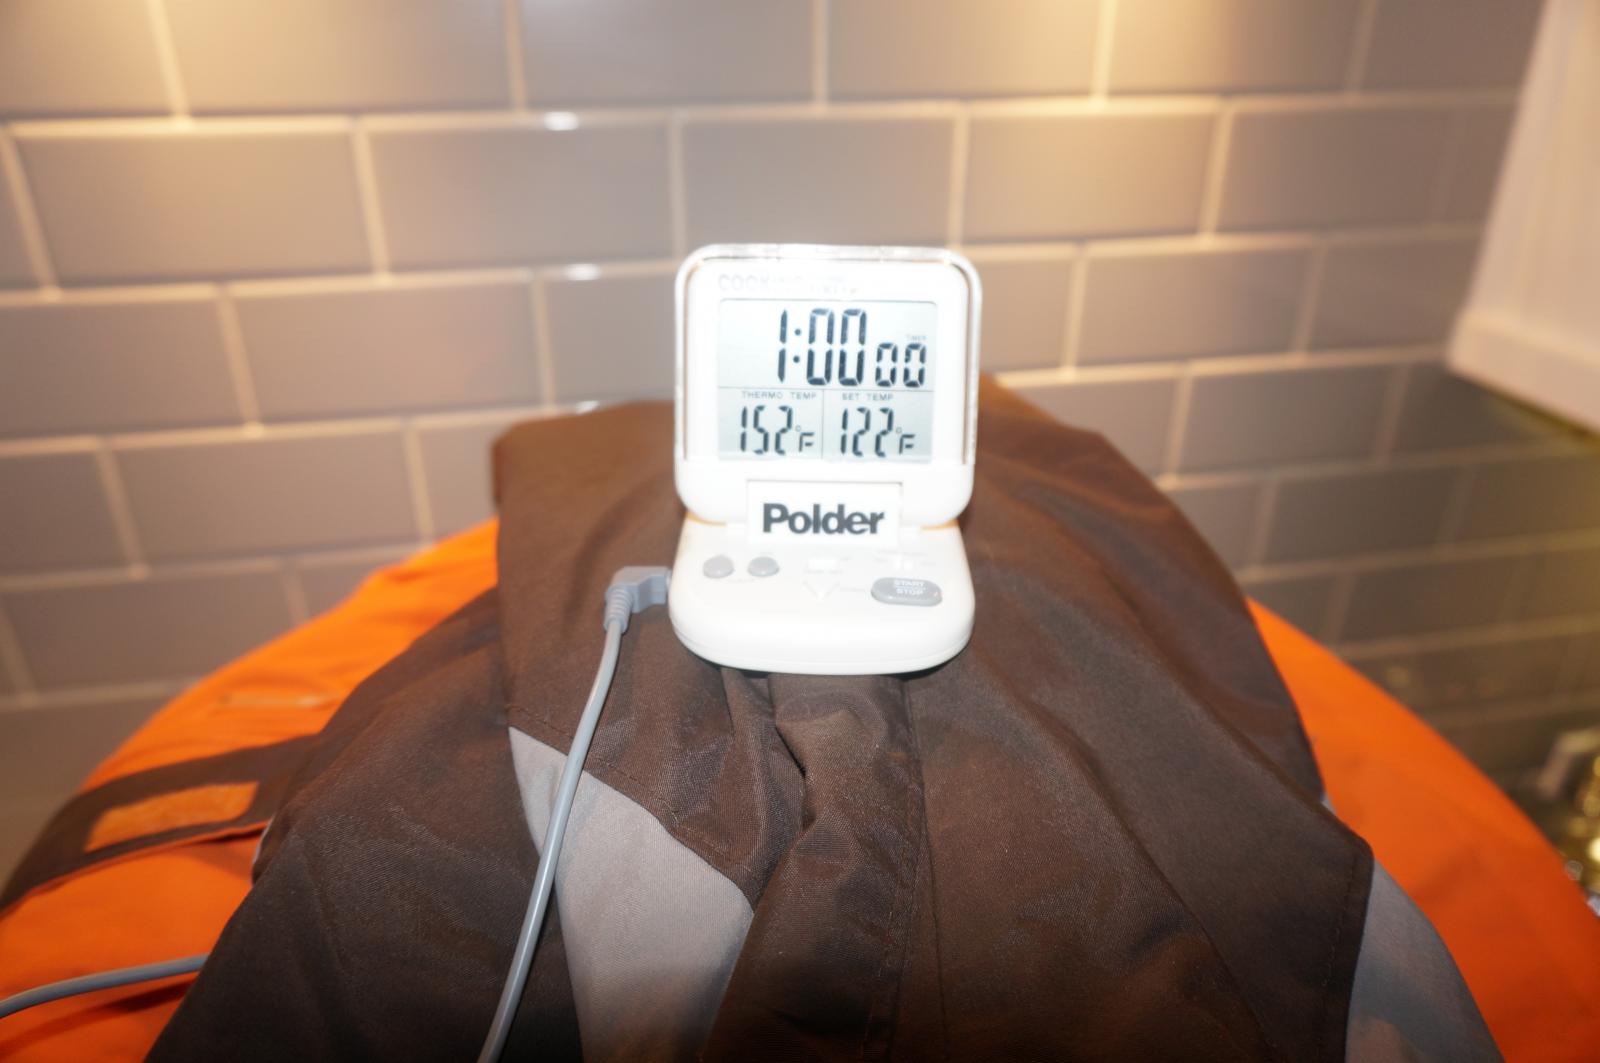
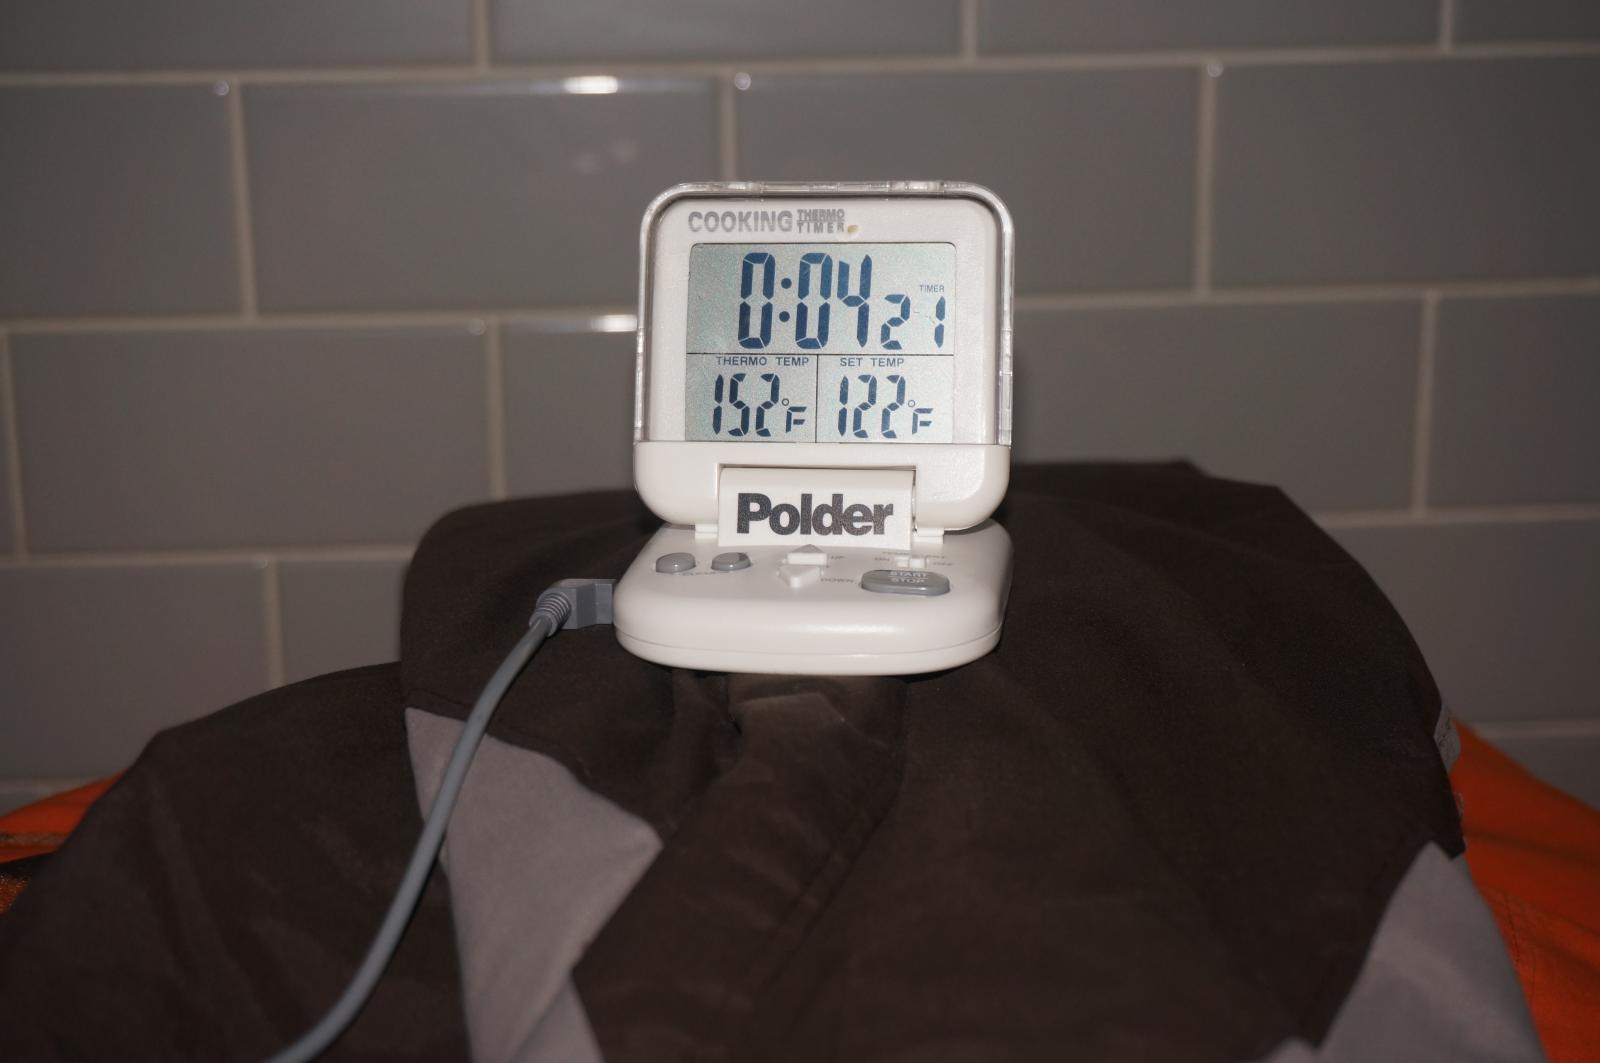
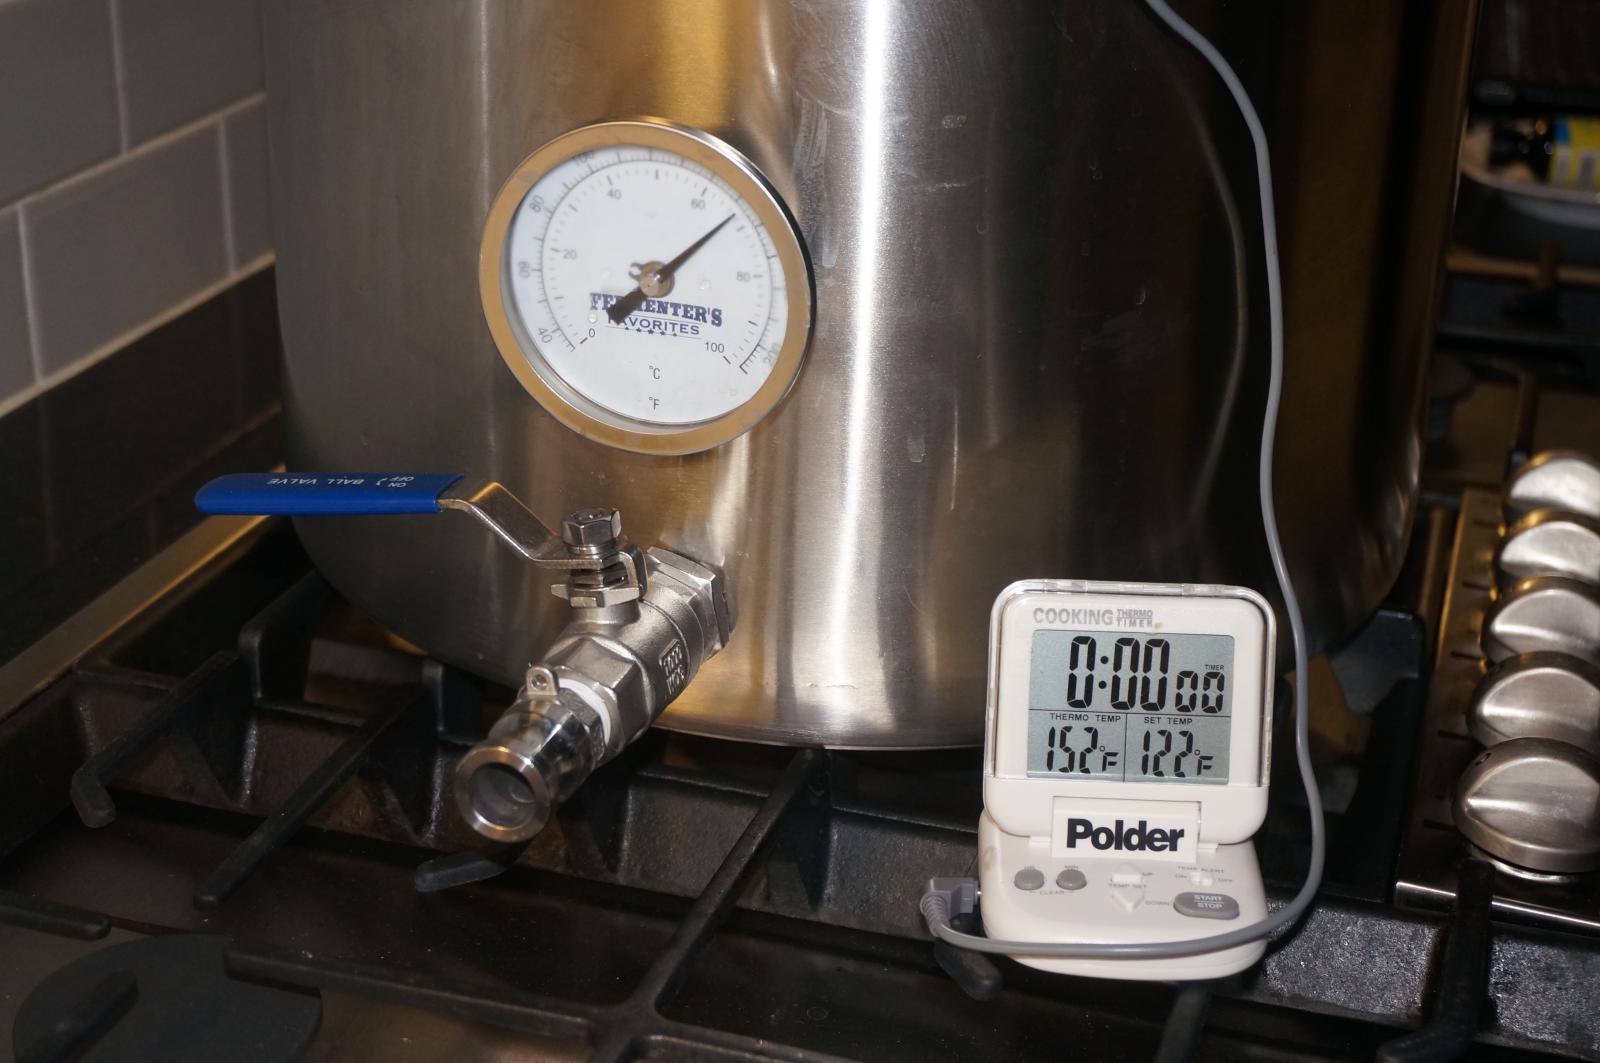
I've been reading a lot of posts on mashing. Temperature stability seems to be an issue for some. My rudimentary system seems to provide very stable temperatures. No stirring during my 60-90 minute mashes is done. I confirm temperatures with two thermometers.

These pictures hopefully illustrate this

Stable at 152F

Start of Mash
56 minutes into the mash
End of Mash

Start of Mash.jpg


Sacc Rest 56 mins in.jpg


End of Mash Temp 1.jpg
 
wow very in detail you are with your procedures and measurements. great post!
 
Back
Top